
The most important thing is to figure out what type of computer you would like, whether it be a gaming rig or a more general use machine. After that, there are many steps to follow in order to build your PC.
What Do I Need?
Before you begin, gather the required tools and materials. In addition to a Phillips head screwdriver (though a set of screwdrivers is preferable), you’ll need a clean work surface and a monitor, mouse, and keyboard to complete the setup. Additionally, a pair of tweezers can be helpful for handling small parts and connectors. You will also need a USB flash drive with at least 8GB of storage. Lastly, Zip ties and an anti-static wrist wrap are optional but recommended. Finally, it’s also a good idea to have a can of compressed air on hand to clean out dust from the case and components.
Building a computer from scratch can be a daunting task, but it’s definitely doable with the right tools and knowledge. In this guide, we’ll show you how to put together a PC using some of our recommended tools listed above. If you need any IT help you can always reach out to FixIT Tek to help the process along.
However, before getting started with the actual construction process, it can be helpful first to gather a few key components. These include: processor (CPU), motherboard, memory (RAM), graphics card(s) and storage drives. Once you know what each one does and have an idea of how much money you want to spend on your custom build-out, proceed to follow the individual build steps below.
Getting Started
The first thing you will need to do is select a CPU. CPUs come in different speeds and have varying features, so it is important to figure out what you need before selecting one. For example, if gaming is your primary goal, then an enthusiast-level or overclockable CPU may be necessary. On the other hand, a machine that will only be used for general use or web surfing may not require as powerful of a processor (such as an entry-level model).
NOTE: Make sure all of the PC parts you pick are COMPATIBLE with each other!
Different Types Of CPUs
There are three main types of CPUs for custom builds—socketed, overclocked, and unlocked. Socketed CPUs come in standard-or micro ATX form factors, while overclocked and unlocked CPUs can be found in larger form factors such as dual-socket LGA2011 motherboards. All three types offer different advantages and disadvantages depending on the needs of the user.
Unlocked processors also tend to have more features than their socketed counterparts (such as overclocking abilities), but they may require a higher level of technical knowledge to use effectively.
Once you’ve selected your processor, it’s time to figure out what type of motherboard you will need. Motherboards come in different shapes and sizes, so it is important to find one that fits your budget and needs. Usually, the more features a motherboard has (such as USB ports, Ethernet), the higher its price tag will be.
Different Types of Motherboards
Traditional motherboards come in two types: ATX and Micro-ATX.
ATX Motherboards are the most popular type, and they are what custom builders typically use. They can hold up to eight expansion cards (PCIe and SATA) as well as two ATA drives.
Micro-ATX motherboards are slightly smaller than standard ATX motherboards, but they do not have the same space for storage or expansion cards. They are best used if you only need room for one graphics card, one hard drive, and one SSD or HDD.
After selecting a motherboard, it’s next important to select memory (RAM). RAM comes in both single and dual-channel varieties; however two channel versions are usually cheaper than their multiprocessor counterparts. It is also recommendable to buy additional memory should you ever decide to upgrade your computer in the future.
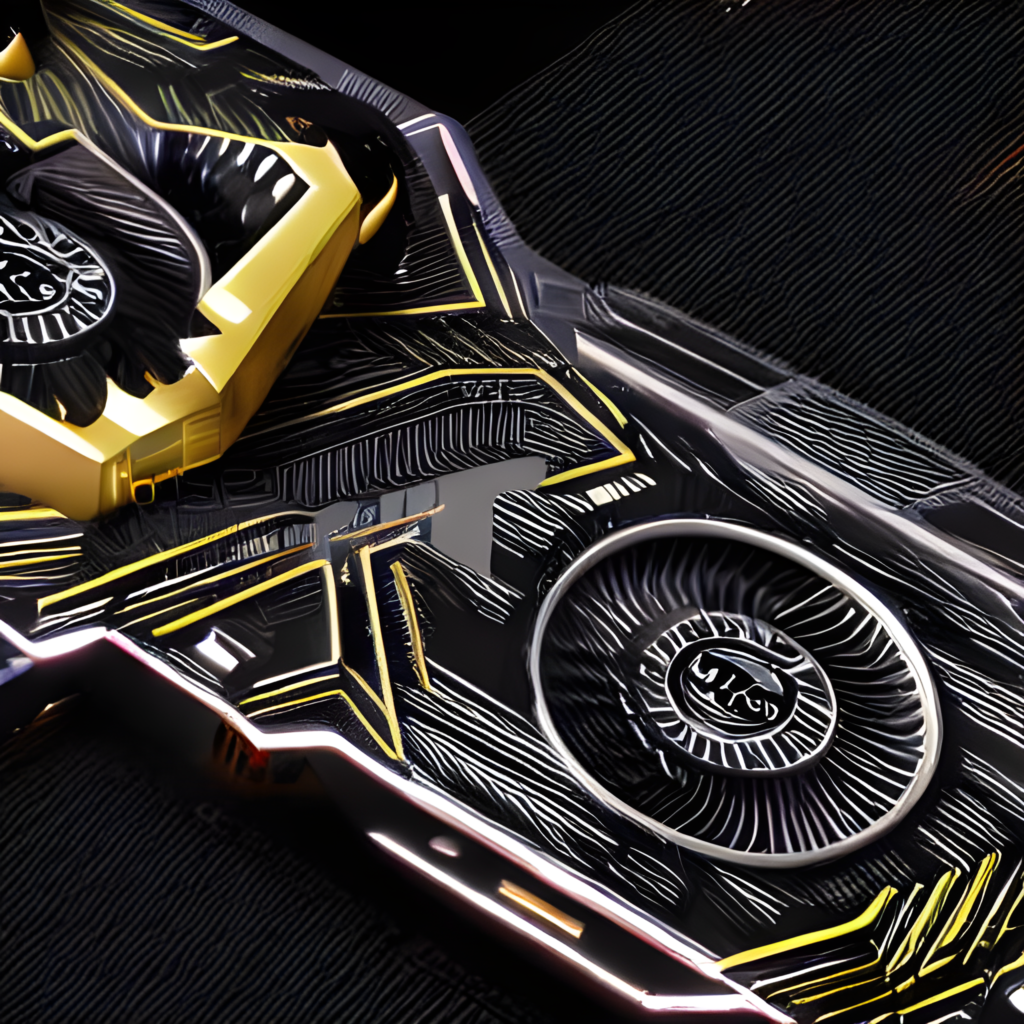
Next, it’s time to find a graphics card (GPU). GPUs come in different types and speeds, so be sure to select one that is suited for your needs. Some people may want a more powerful graphics card for gaming or photo editing; while others may only need an entry-level model for basic tasks such as web browsing and office work. Finally, you will need to decide on what type of storage drives you will require. These include: hard drive(s), optical drive(s), SSD (solid state drive) and WD Blue 3 TB Portable External Hard Drive.
Once all the components have been selected, it is time to assemble your machine!
How To Start Building
First, you want to make sure you install as many components on the motherboard as you can before you install the motherboard into your PC case. This will make it easier for the user overall. Make sure while you’re in the process of doing this, the motherboard is being placed on a flat, clean, static-free surface.
What Should Go First?
The first component installed on the motherboard should be the CPU (Central Processing Unit). The CPU determines how the computer will run and is therefore very important.
Fan Installation
Installing fans inside a custom PC is important to ensure that the computer stays cool. To do this, first remove any existing fan mounts from the case and then slide one or more fans into the desired location(s). Make sure that all of the screws are fastened securely in place and that no wires are pinched. You also want to make sure all the fans are facing the proper direction. This step is vital as proper airflow keeps all of your PC components inside your case cool and functioning for a long time.
Storage
Next, it is recommended for you to install your storage, especially if you own an NVMe. An SSD will need to be installed before the motherboard, and it is very important that you use an M2 or larger screwdriver when installing the storage. You should place the SSD so that its SATA connector (the shorter black one) is facing up and that its screws are below those of your motherboard. Make sure all cables from your storage (power, data, etc.) are plugged into their corresponding ports on your motherboard.
Installing RAM
Next, install the RAM (Random Access Memory) modules.
DDR4 RAM should be installed in pairs. The way in which you install your RAM is highly dependent on what kind of motherboard you have. So be sure to read the manual that came with it.
Now that the CPU and RAM are installed on the board, it is time to place it inside your PC case. Make sure to place the PC case on a flat, clean surface and fit the motherboard into the case so that all of the connectors line up. Then use screws or clips to attach it to the case.
CPU Cooler
The CPU cooler should be placed as close to the CPU as possible. You can then use screws or clips, if needed, to attach it to the motherboard. If your CPU cooler comes with a manual, we HIGHLY recommend following its instructions to install it; as CPU cooler installations highly depend on the type and model you have.
Putting The Power Supply In The Case
The power supply should be installed next. Make sure to line up the holes on the motherboard with those on the power supply and use screws or clips, if needed, to attach it to the case. Some of you may have different style cases, so when in doubt, always refer back to the manufacturer’s manual!
Finally The GPU!
GPUs (graphics processing units) are not installed by simply plugging them into a socket on the motherboard. There are multiple ways in which to do this, so it all depends on what type of GPU you’re installing. If you’re installing an AMD GPU, for example, there might be a few different mounting brackets that come with the card that can be used to hold it in place. However, if you’re installing an Nvidia graphics card, there will likely be screws included with the installation kit that need to be screwed into the motherboard’s chassis.
Once the GPU is installed, it’s time to install the cooler. Many GPUs come with a pre-installed cooler, but if yours doesn’t, you’ll need to purchase and install one separately. Make sure that everything is plugged in and connected properly before continuing. For more detailed installation instructions, you can refer to your GPU’s manual or the motherboard’s installation guide. Once everything is in your PC case, make sure you make all the necessary connections to the motherboard so your PC can actually power on in the post process!
Finally, connect any peripheral devices that you plan on using (such as monitors or speakers) to the motherboard’s ports.
What’s Next?
Once you have everything installed, keep all the panels off until you know for sure everything is working. Go ahead and power on your PC!
Bring your temporarily constructed tower over to your pre-setup computer space and connect it to power, a screen, a keyboard, and a mouse. Turn it on and press the [insert your BIOS shortcut key] to enter the BIOS. Check your CPU temperature, which should be between 30 and 40 degrees Celsius, and make sure your boot drive is properly registered.
If everything appears to be in order, now is a good time to enable XMP for Intel or DOCP for AMD to ensure your memory is operating at the correct frequency. Then, press F10 to save and exit. Then turn the power off.
Return the system to your computer space, where it will remain indefinitely—or at least until your next upgrade—as we will need to install the operating system next.
Because most modern computers lack an optical drive, you’ll need to create a USB install on another PC. To do so, first download the Windows 11 Media Creation Kit (opens in a new tab) and then install Windows 11 on an 8GB USB stick.
Once completed, simply plug it into your new system. Return to your BIOS and instruct your system to boot from the USB stick first. Then follow the on-screen instructions to install the operating system on your new computer.
Once you’ve logged in, go to the manufacturer’s website, locate your motherboard, select service, and download the appropriate chipset drivers for your system.
Desktop Maintenance
Desktop maintenance is a broad term that covers a wide range of activities. In general, however, it refers to the regular care and upkeep of a desktop computer. This can involve anything from cleaning the case and dusting off the keyboard to backing up data and updating software. While some desktop maintenance tasks can be easily handled by users themselves, others may require the assistance of a qualified technician. In either case, regular desktop maintenance is essential for keeping a computer running smoothly and avoiding potential problems down the road.
Desktop maintenance can also be used to improve performance or address specific issues. For example, upgrading hardware or adding new software may be necessary to keep up with the latest advances in technology. Likewise, customizing a computer’s settings can help optimize its performance for specific tasks or user needs. No matter what form it takes, desktop maintenance is an important part of owning a desktop computer.
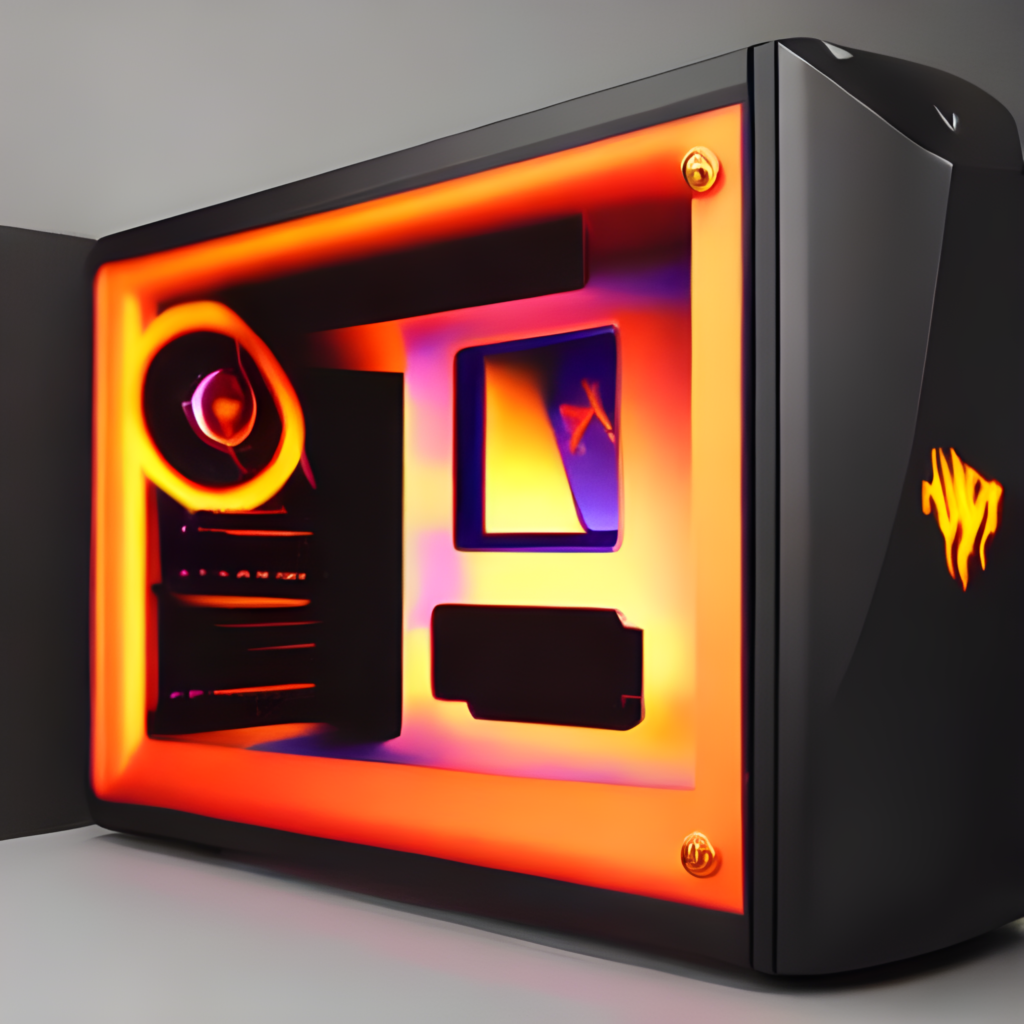
PC Case Strip Down
PC Case Strip Down is a process of taking the PC case apart to the bare minimum in order to clean it or replace some hardware. In most cases, it is not necessary to strip the PC down to the bare minimum, but it is often recommended to do so when troubleshooting certain hardware issues.
The first step in the PC Case Strip Down is to unplug all of the cables from the back of the PC case. Next, remove any thumbscrews or screws that are holding the side panels in place. Once the side panels are removed, take a look at all of the components inside and familiarize yourself with their locations. Most PC cases have removable dust filters that can be easily cleaned; be sure to remove these and clean them as well. If there are any drive bays or PCI expansion slots, they can also be removed at this time. Finally, remove the power supply unit (PSU) from its mount and set it aside.
With the PSU removed, you should now have full access to all of the internal components of the PC case. Strip-down PC cases can seem daunting at first, but with a little patience and attention to detail, anyone can do it!